How to Plan Your Exhibition Booth: A Complete Step-by-Step Guide
A step-by-step guide to planning an exhibition booth in India, covering objectives, budgeting, stand size, 3D design, graphics, fabrication, logistics, on-site engagement and dismantling for a successful show.
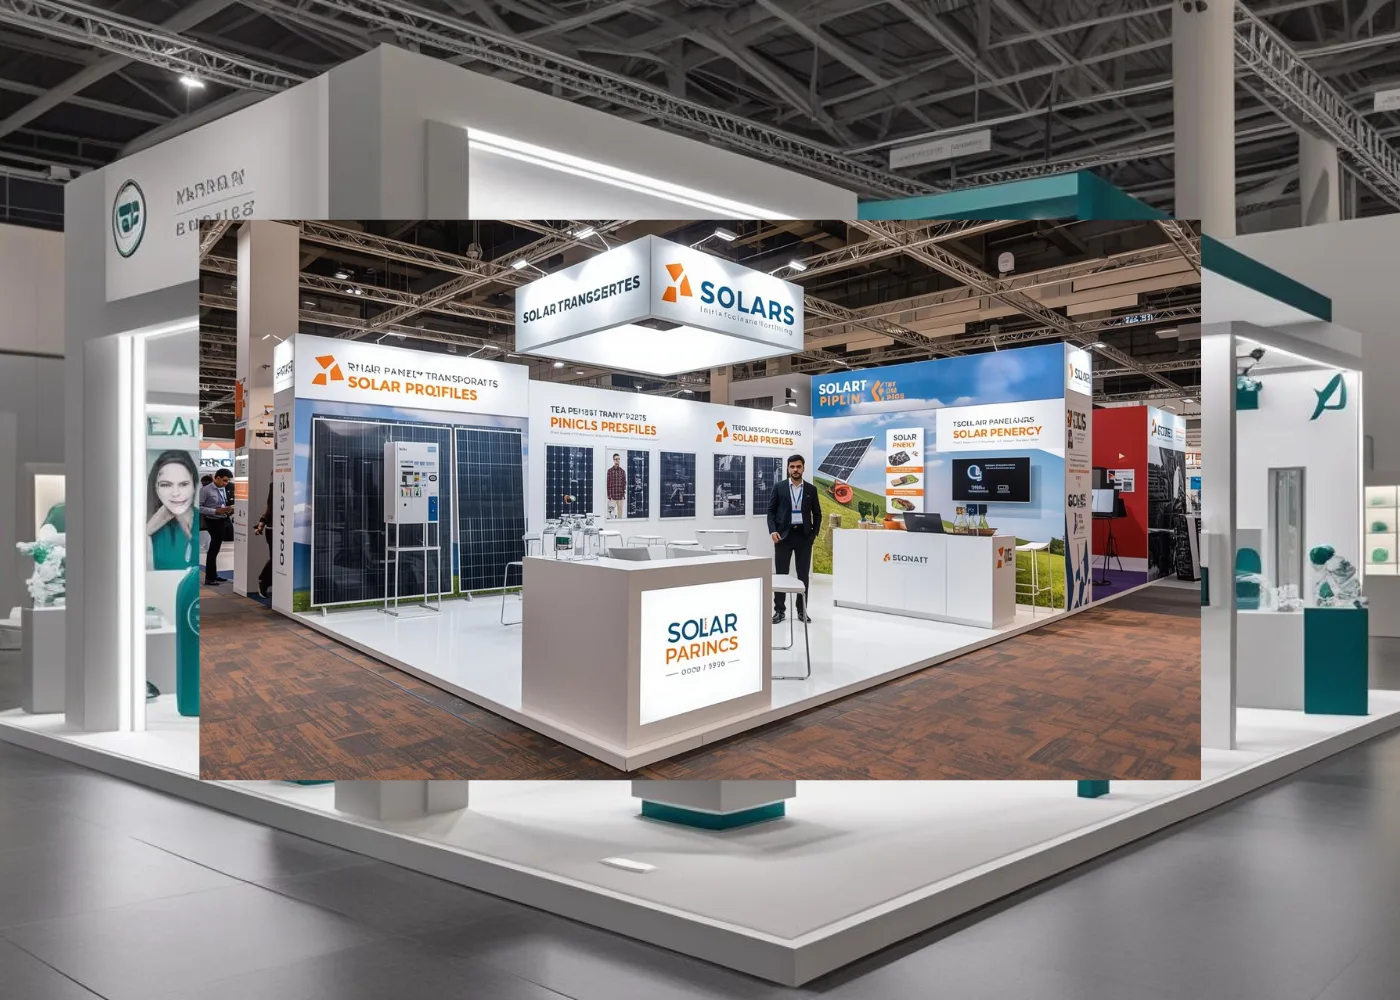
Planning an exhibition booth? This step-by-step guide covers budgeting, 3D design, fabrication, logistics and on-site execution: everything you need for a successful exhibition.
Exhibitions are among the most powerful ways to connect with customers, launch products and strengthen your brand presence. But to stand out in a competitive exhibition hall, you need more than just a booth. You need a strategic, well-planned approach.
This guide walks you through every step of planning an exhibition booth, from concept and budgeting to design, fabrication, installation and post-event wrap-up. Whether you are a first-time exhibitor or a seasoned one refining your approach, these steps will help you plan with confidence.
Step 1: Define your goals and objectives
Before anything else, be clear on why you are exhibiting. Ask yourself:
- Are you launching a new product?
- Do you want to generate leads?
- Is your goal brand visibility?
- Are you meeting distributors or partners?
Your goals will directly influence:
- Booth size
- Layout
- Design style
- Messaging
- Engagement activities
Exhibiting without a clear objective leads to wasted effort and budget. Start with purpose, and every step becomes easier.
Step 2: Set a realistic budget
A well-planned budget prevents surprises and helps you allocate resources wisely. Your budget should include:
- Booth design
- Fabrication and materials
- Graphics and branding
- Furniture and lighting
- Logistics (shipping, transport, handling)
- Installation and dismantling
- Electricity and services
- Team travel and accommodation
A defined budget helps your exhibition partner recommend the best option within your range, whether that is a custom stand or a reusable modular stand.
Step 3: Choose the right booth size and space
Your booth size should align with:
- Your budget
- Exhibition location
- Expected visitor flow
- Number of products to display
- Meeting areas needed
Popular booth sizes include 3 × 3 m, 3 × 6 m, 6 × 6 m, 6 × 9 m, 9 × 12 m and larger custom builds. Also check:
- Visibility from walkways
- Corner or island locations
- Electrical points
- Height restrictions
Selecting the right space is essential for maximising visibility.
Step 4: Develop a strong concept and 3D design
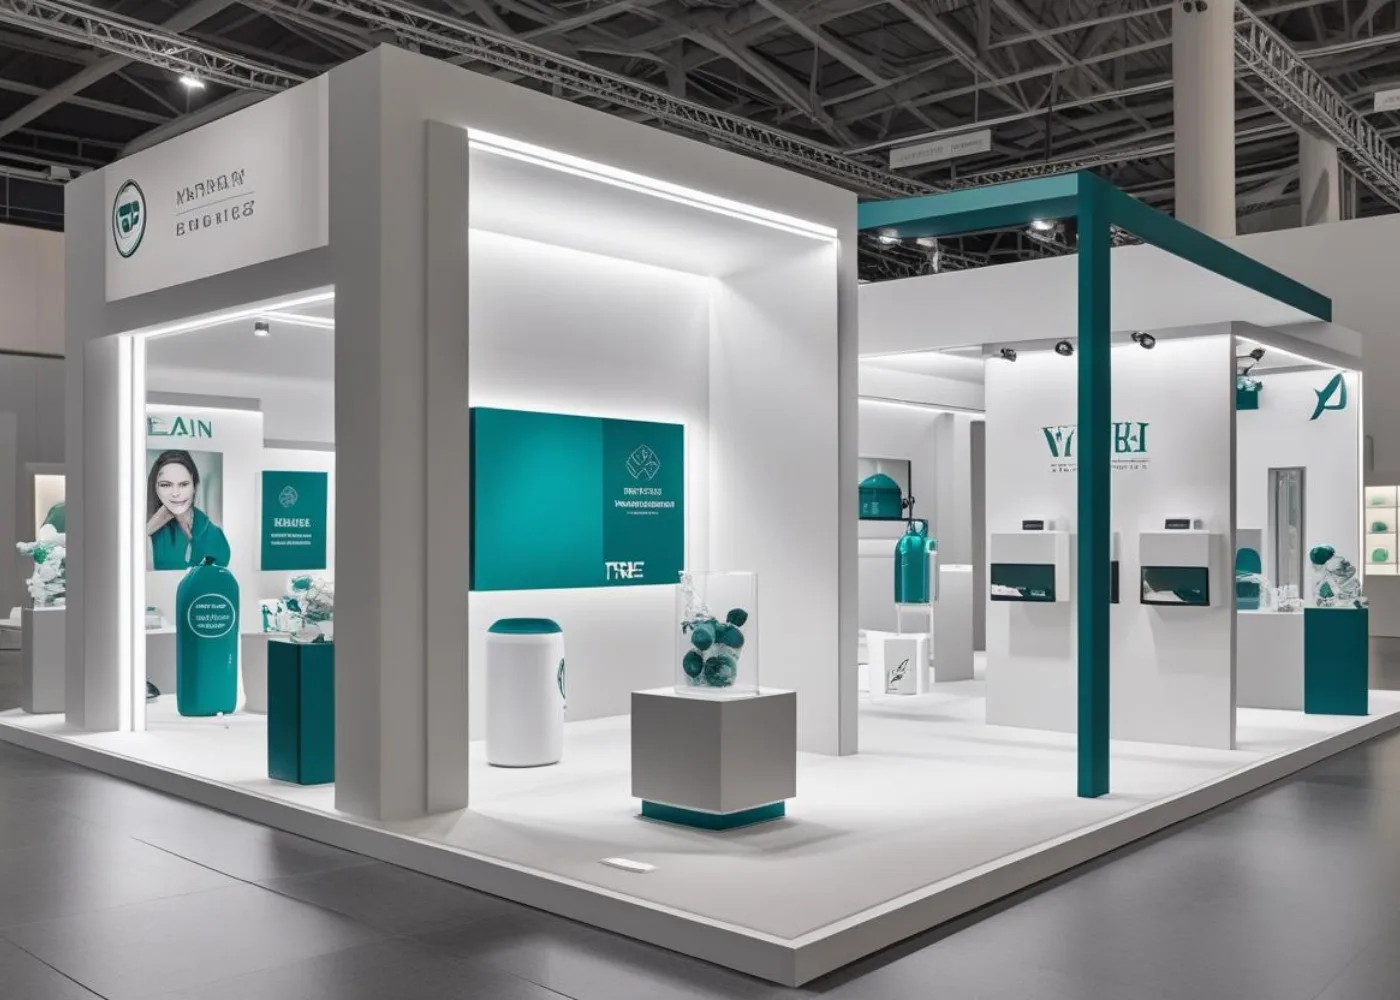
Your booth concept is the backbone of your exhibition experience. A good 3D booth design:
- Reflects your brand identity
- Incorporates your colour palette
- Displays products effectively
- Includes visitor engagement zones
- Communicates your message clearly
This is where a professional design team, like Management Touch, turns your vision into a clear visual concept.
Step 5: Finalise materials, branding and graphics
Your booth should communicate quickly and visually. Key elements include:
- High-resolution branding graphics
- Lightbox visuals
- Product display units
- Custom furniture
- Digital screens
- Printing and vinyls
Choose materials that balance durability, aesthetics and budget.
Step 6: Fabrication and pre-production
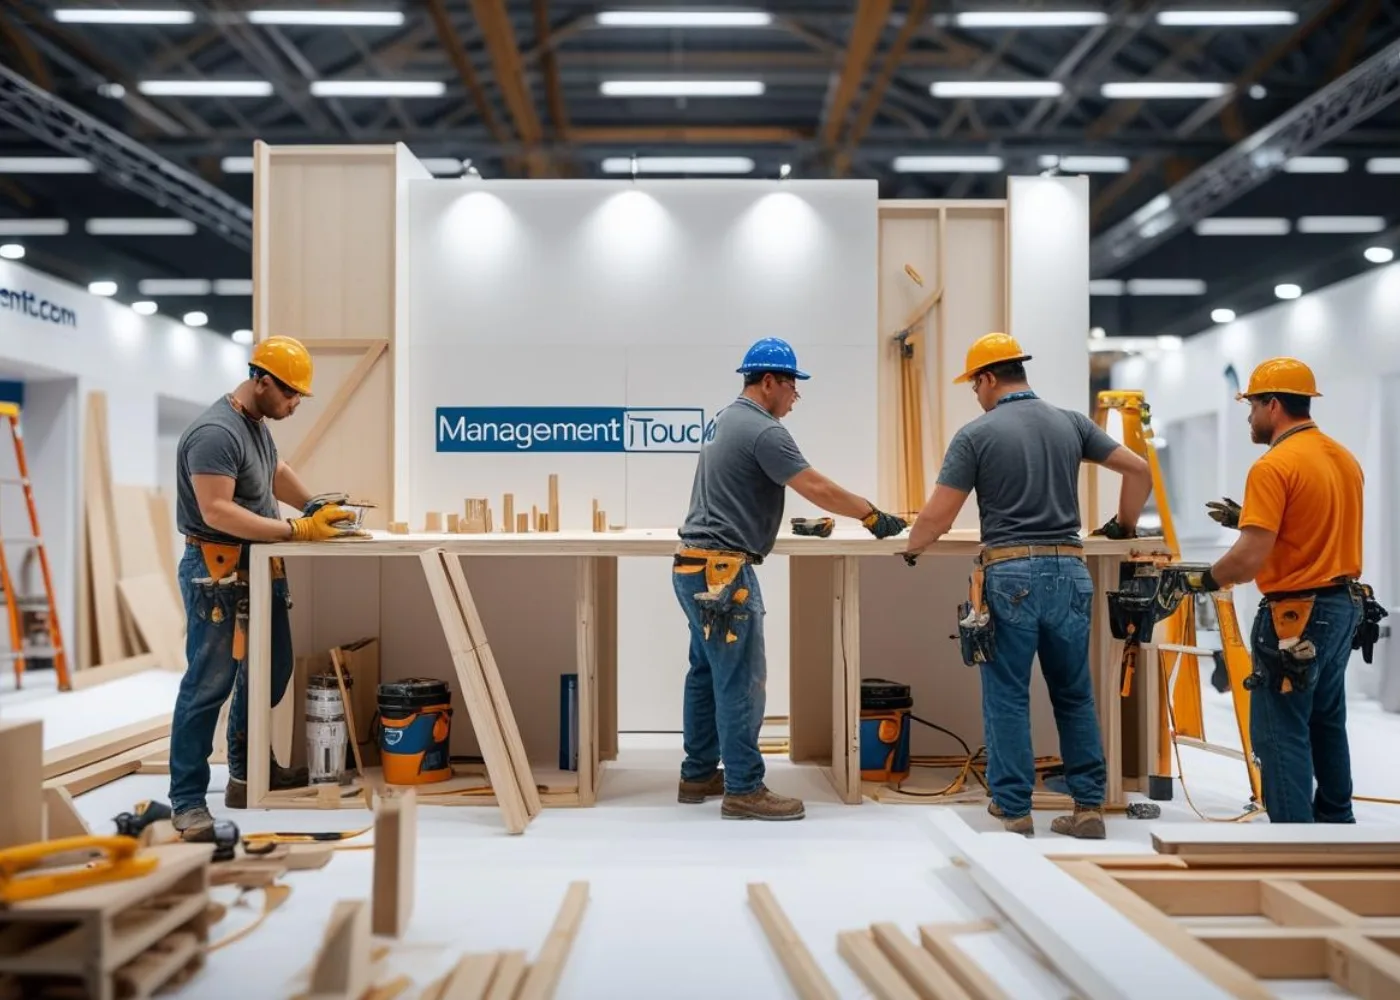
Once designs are approved, stall fabrication begins. This includes:
- Carpentry
- Metalwork
- Painting and polishing
- Branding production
- Electrical set-up
- Furniture fabrication
Pre-production ensures everything fits perfectly before it reaches the venue. A reliable partner ensures quality control, timely production and stress-free execution.
Step 7: Logistics, transport and installation
This phase includes:
- Packing
- Transporting booth materials
- On-site assembly
- Electrical connections
- Lighting set-up
- Audio-visual installation
A professional team ensures your booth is installed:
- Safely
- On time
- As per venue rules
- Exactly as designed
Step 8: During the exhibition, engage and interact
Your booth team should:
- Greet visitors
- Demonstrate products
- Give presentations
- Capture leads
- Start conversations
A booth design that supports interaction naturally boosts engagement.
Step 9: Dismantling and storage
Once the show ends, the team:
- Dismantles the booth
- Packs all components safely
- Stores reusable parts (optional)
- Manages waste responsibly
Careful dismantling means materials can be reused for future events, especially with modular systems.
Conclusion
Planning an exhibition booth requires strategy, creativity and precise execution. Done right, a well-designed booth becomes a powerful marketing tool that drives engagement, strengthens brand identity and delivers a strong return on investment.
Management Touch provides end-to-end support in:
- Exhibition booth design
- 3D rendering
- Stall fabrication
- Custom and modular booths
- Turnkey exhibition execution
Whether you are preparing for your first show or upgrading your exhibition presence, request a quote and we will help you plan it step by step.
Key takeaways
- Start with clear objectives; they decide booth size, layout, messaging and engagement.
- Budget for every line item, including logistics, power, dismantling and team travel, not just the build.
- Approve the 3D design and materials before fabrication so everything fits first time on site.
- Plan dismantling and storage up front, especially if you want to reuse a modular stand.
Planning a stand or fit-out?
Get a 3D concept direction and itemised quote from our team — usually within one business day.