
Planning an exhibition booth? This complete step-by-step guide covers budgeting, 3D design, fabrication, logistics, and onsite execution—everything you need for a successful exhibition.
Introduction
Exhibitions are among the most powerful ways to connect with customers, launch products, and strengthen your brand presence. But to stand out in a competitive exhibition hall, you need more than just a booth—you need a strategic, well-planned approach.
This guide walks you through every step of planning an exhibition booth, from concept and budgeting to design, fabrication, installation, and post-event wrap-up. Whether you’re a first-time exhibitor or a
Step 1: Define Your Goals & Objectives
Before anything else, you must be clear on why you are exhibiting.
Ask yourself:
Are you launching a new product?
Do you want to generate leads?
Is your goal brand visibility?
Are you meeting distributors or partners?
Your goals will directly influence:
Booth size
Layout
Design style
Messaging
Engagement activities
Exhibiting without a clear objective leads to wasted effort and budget.
Start with purpose, and every step becomes easier.
Step 2: Set a Realistic Budget
A well-planned budget prevents surprises and helps you allocate resources wisely.
Your budget should include:
Booth design
Fabrication & materials
Graphics & branding
Furniture & lighting
Logistics (shipping, transport, handling)
Installation & dismantling
Electricity & services
Team travel & accommodation
Having a defined budget helps your exhibition partner recommend the best custom booth or modular booth options within your range.
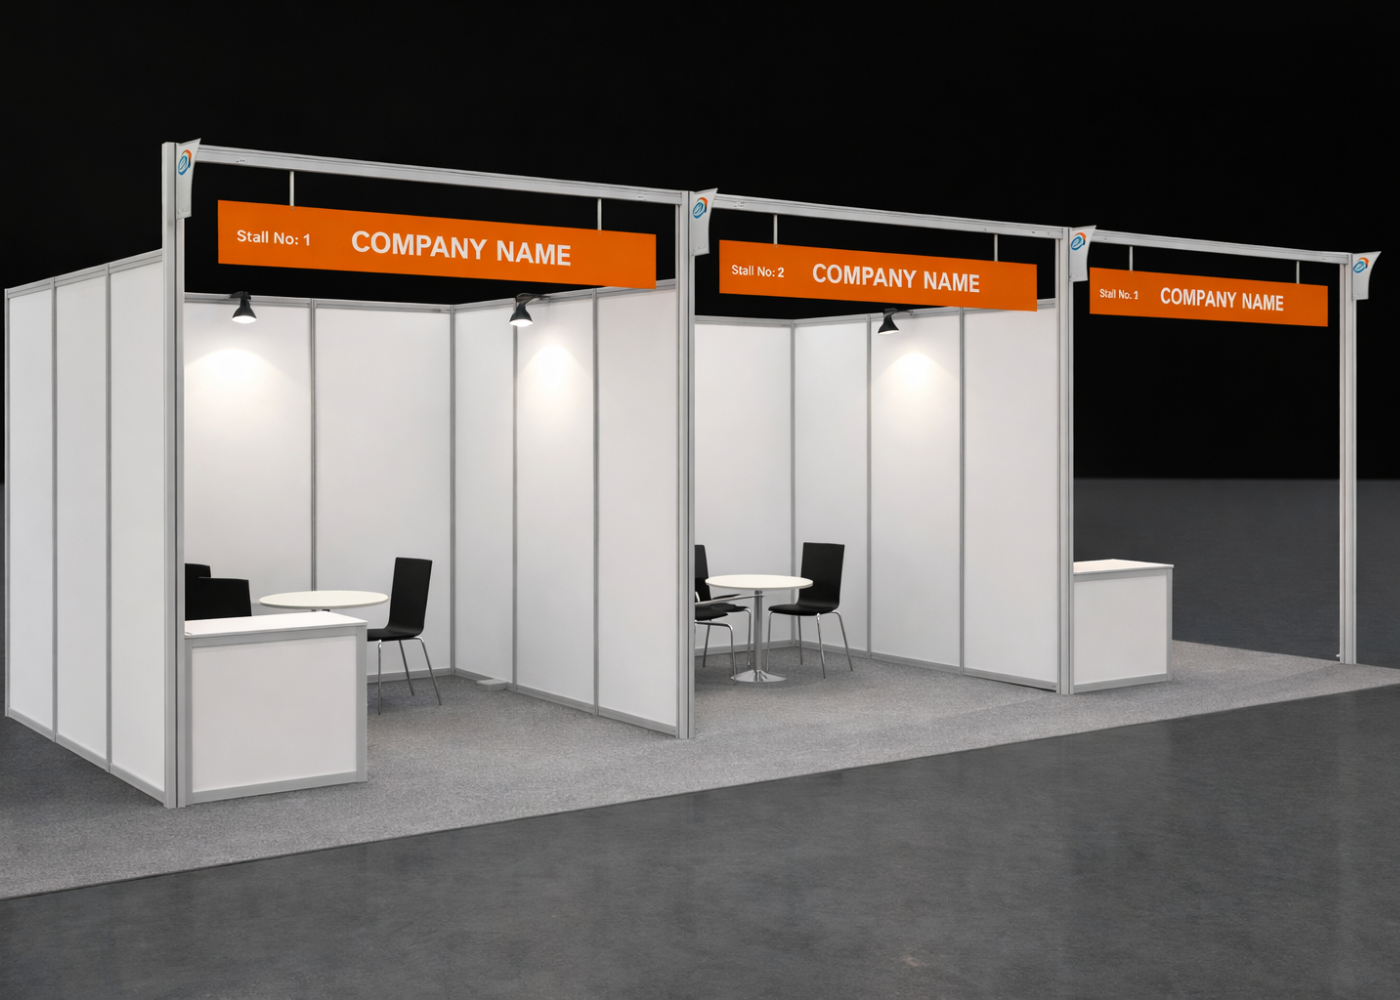
Step 3: Choose the Right Booth Size & Space
Your booth size should align with:
Your budget
Exhibition location
Expected visitor flow
Number of products to display
Meeting areas needed
Popular booth sizes include:
3×3 m, 3×6 m, 6×6 m, 6×9 m, 9×12 m, and larger custom builds.
Also check:
- Visibility from walkways
- Corner or island locations
- Electrical points
- Height restrictions
Selecting the right space is essential for maximizing visibility.
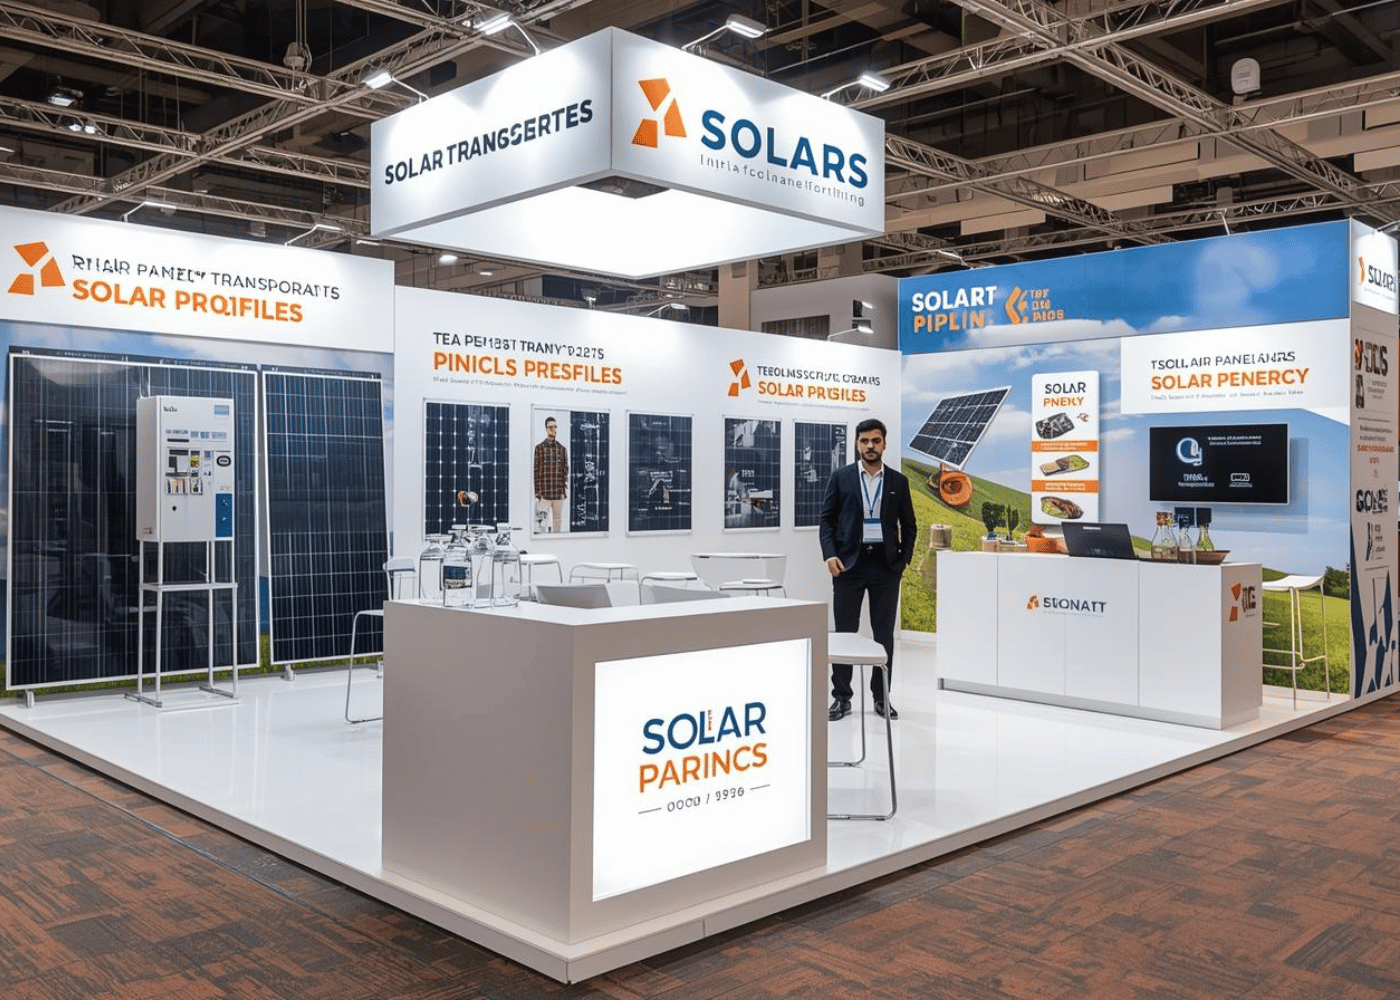
Step 4: Develop a Strong Concept & 3D Design
Your booth concept is the backbone of your exhibition experience.
A good 3D booth design:
Reflects your brand identity
Incorporates your color palette
Displays products effectively
Includes visitor engagement zones
Ensures clear communication of your message
This is where a professional design team, like Management Touch, transforms your vision into a stunning visual concept.
Step 5: Finalize Materials, Branding & Graphics
Your booth should communicate quickly and visually. Key elements include:
High-resolution branding graphics
Lightbox visuals
Product display units
Custom furniture
Digital screens
Printing & vinyls
Choose materials that balance durability, aesthetics, and budget.
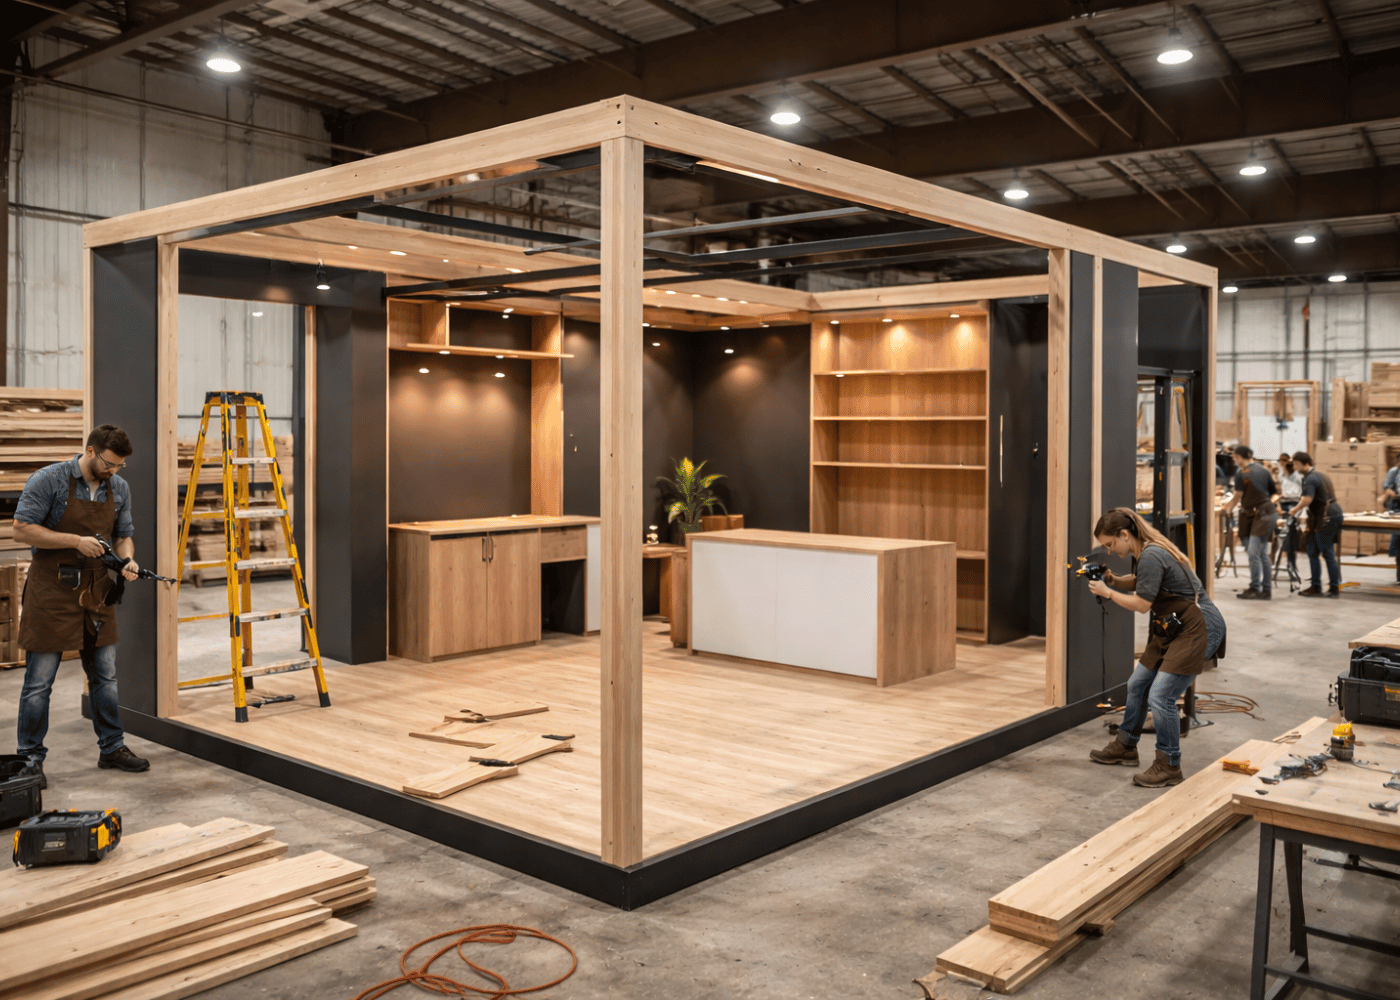
Step 6: Fabrication & Pre-Production
Once designs are approved, fabrication begins.
This includes:
Carpentry
Metal work
Painting & polishing
Branding production
Electrical setup
Furniture fabrication
Pre-production ensures everything fits perfectly before it reaches the event.
A reliable partner ensures quality control, timely production, and stress-free execution.
Step 7: Logistics, Transport & Installation
This phase includes:
Packing
Transporting booth materials
On-site assembly
Electrical connections
Lighting setup
Audio-visual installation
A professional team ensures your booth is installed:
- Safely
- On time
- As per venue rules
- Exactly as designed
Step 8: During the Exhibition — Engage & Interact
Your booth team should:
Greet visitors
Demonstrate products
Give presentations
Capture leads
Create conversations
A booth design that supports interactions naturally boosts engagement.
Step 9: Dismantling & Storage
Once the show ends:
The team dismantles the booth
Packs all components safely
Stores reusable parts (optional)
Manages waste responsibly
Good dismantling ensures materials can be reused for future events, especially for modular systems.
Conclusion
Planning an exhibition booth requires strategy, creativity, and precise execution. When done right, a well-designed booth becomes a powerful marketing tool that drives engagement, strengthens brand identity, and delivers high ROI.
Management Touch provides end-to-end support in:
Exhibition booth design
3D rendering
Stall fabrication
Custom & modular booths
Turnkey exhibition execution
Whether you’re preparing for your first show or upgrading your exhibition presence, we are here to deliver exceptional results—every time.
Great step-by-step explanation! In India’s rapidly growing exhibition and trade show industry, proper booth planning is crucial for maximizing visibility and lead generation. Budgeting, design, branding, and engagement strategy must work together for real results. This guide clearly explains how businesses can stand out in competitive expos.
- Dev Anand